
Over the last three or four years, home automation has become a really big deal. Much of the coverage you read talks abut the “smart home” – a house where various appliances such as lighting, window coverings and heating and cooling are controlled using a variety of sensors and apps. But the reality of creating a smart home is far harder than many people realise. Not all devices will interoperate because there’s turf war in progress. Amazon, Apple and Google have all established their own standards for managing the integration of different components. But there may be a way to get the different warring factions to play together. It’s called Homebridge.

The Turf War for your Smart Home
Amazon, Apple and Google (I’m listing them alphabetically – the order I’m writing them has no bearing on whether I think one is better than the other) have all created their own automation and remote management tools for smart home devices.
Amazon has built their platform around the Alexa range of products. The Alexa service uses voice control (“Alexa, turn on the lights”) through apps and smart speakers.
Apple HomeKit, works with its digital assistant Siri (“Siri, turn on the lights”) and can be controlled through the Home app that’s part of all Apple’s operating platforms. If you’re deep into the Apple ecosystem, HomeKit makes a lot of sense – except that HomeKit certified gear tends to cost more than equivalent kit from the other platforms.
Google Home is similar to Amazon in that accessories are priced less expensively than similar HomeKit products. Like the others, it works with Google’s smart speaker system (“Hey Google, turn on the lights”).
For most users, the first step in going down the smart home road is choosing which platform you’ll stick with. Amazon and Google are the lowest cost options. Both have a range of smart speakers you can use around the house and products that support the platforms are plentiful.
You can buy Google Home and Amazon Alexa compatible gear from almost any homeware store. My local supermarket stocks lights, for example, that work with these platforms.
HomeKit gear goes through a different certification process and Apple’s security requirements for how devices operate are a little more stringent to the other two players. As a result, they typically cost more than the others and are a little harder to find.
Where does Homebridge fit in?
I’ve been a longtime user of Apple’s gear. That’s a result of spending a long time contributing to and editing Macworld Australia (which has sadly closed down) but also because I find the gear works more easily with me. That’s a personal thing – I’ve been using macOS, tvOS, iOS and now iPadOS for long enough that changing would be a significant disruption.
But I also want to get right into the smart home thing which is why I’ve embarked on my smarthome experiment.
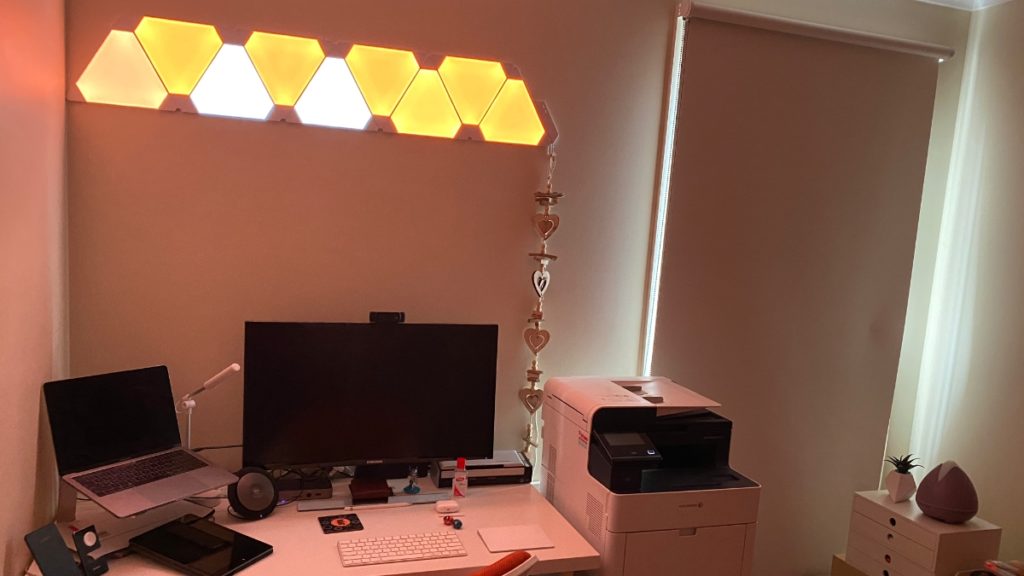
Over the years I’ve tried a few different smarthome devices. For example, I have some Belkin WeMo gear as well as kit from Elgato’s Eve range, lighting from Nanoleaf and LifX and some Sonos speakers.
Some of that is HomeKit friendly but not all of it.
Homebridge is a piece of software that creates a bridge between HomeKit compatible gear and equipment that’s not dedigned for HomeKit.
As the name suggests, it’s a bridge. Non-HomeKit compatible gear connects to Homebridge and Homebridge works with Apple’s Home apps. It’s a bridge into the HomeKit world.
Why bother with Homebridge?
Simply, because it can save you a bunch of money and it vastly expands the range of devices you can use with HomeKit.
The neat thing about Homebridge is that you can run it on lots of different devices. Homebridge can run on macOS or Windows 10 if you have spare computer lying around. The only thing to remember is that the computer needs to be always on if you want to keep control of your devices all the time and for automated sequences, like turning the light on and closing the blinds at sunset, to run.
What do you need to run Homebridge?
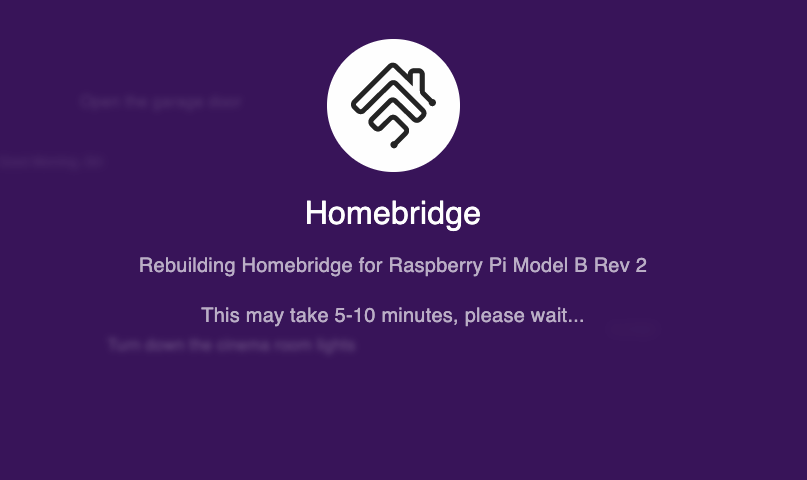
I had an old Raspberry Pi in the cupboard so I decided to use that. The advantage over a computer is that it’s small and way more power efficient. Having the Raspberry Pi running 24/7 uses a lot fewer electrons than a full PC.
If you’re going to buy a Raspberry Pi for Homebridge you don’t need the latest and greatest. Older models are supported – I have a Raspberry Pi 2 (the most recent is the fourth generation) and it works just fine.
My Raspberry Pi is connected to my home router via Ethernet as it’s not equipped with WiFi. There’s no display or keyboard connected as once the installation is done as all the setup and configuration is done from a web browser.
Installing Homebridge on a Raspberry Pi
The good news is that a bunch of people have made the installation of Homebridge super easy. They’ve created a disk image (which is basically a copy of some software) that can be installed directly to an SD Card that can be popped into a Raspberry Pi.
That image includes all the bits and peeves needed to run Homebridge without you needing to mess about with Linux command lines or any other deeply technical stuff – unless you really want to.
You’ll find instructions for installing the Raspbian disk image with preconfigured Homebridge here.
Homebridge’s magic trick
The big trick that Homebridge manages is that it can connect to a massive number if different non-HomeKit smarthome gizmos. You simply add Homebridge to your Apple Home app (there’s a unique QR code or numerical code for doing that, just like any other HomeKit device).
In order to add devices to Homebridge so they’ll work with HomeKit, you’ll need to add plug-ins.
A plug-in takes a non-HomeKit device and connects into Homebridge. Homebridge then makes that device available to HomeKit.
That’s its magic trick; it translates a huge number of different devices into language HomeKit can understand.
Many of the plug-ins are made by either independent software developers but many equipment makers have created their own official plug-ins. For example, Belkin has created it’s now “Verified” plug-in for using its range of Wemo devices. The same goes with Ring and their doorbells and cameras.
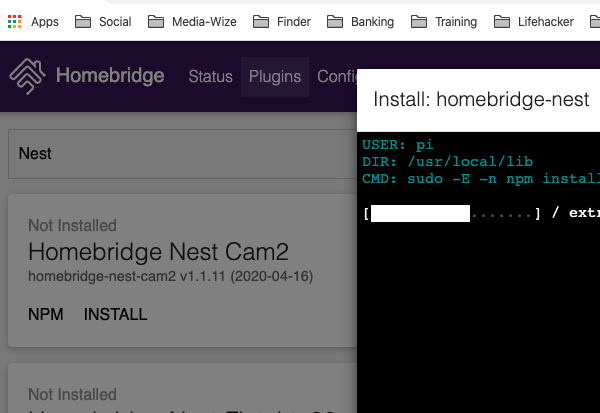
Adding plug-ins is simply a matter of going to the Plug-ins section fo the web app (which you access by simply going to http://homebridge.local and searching for the brand of your device.
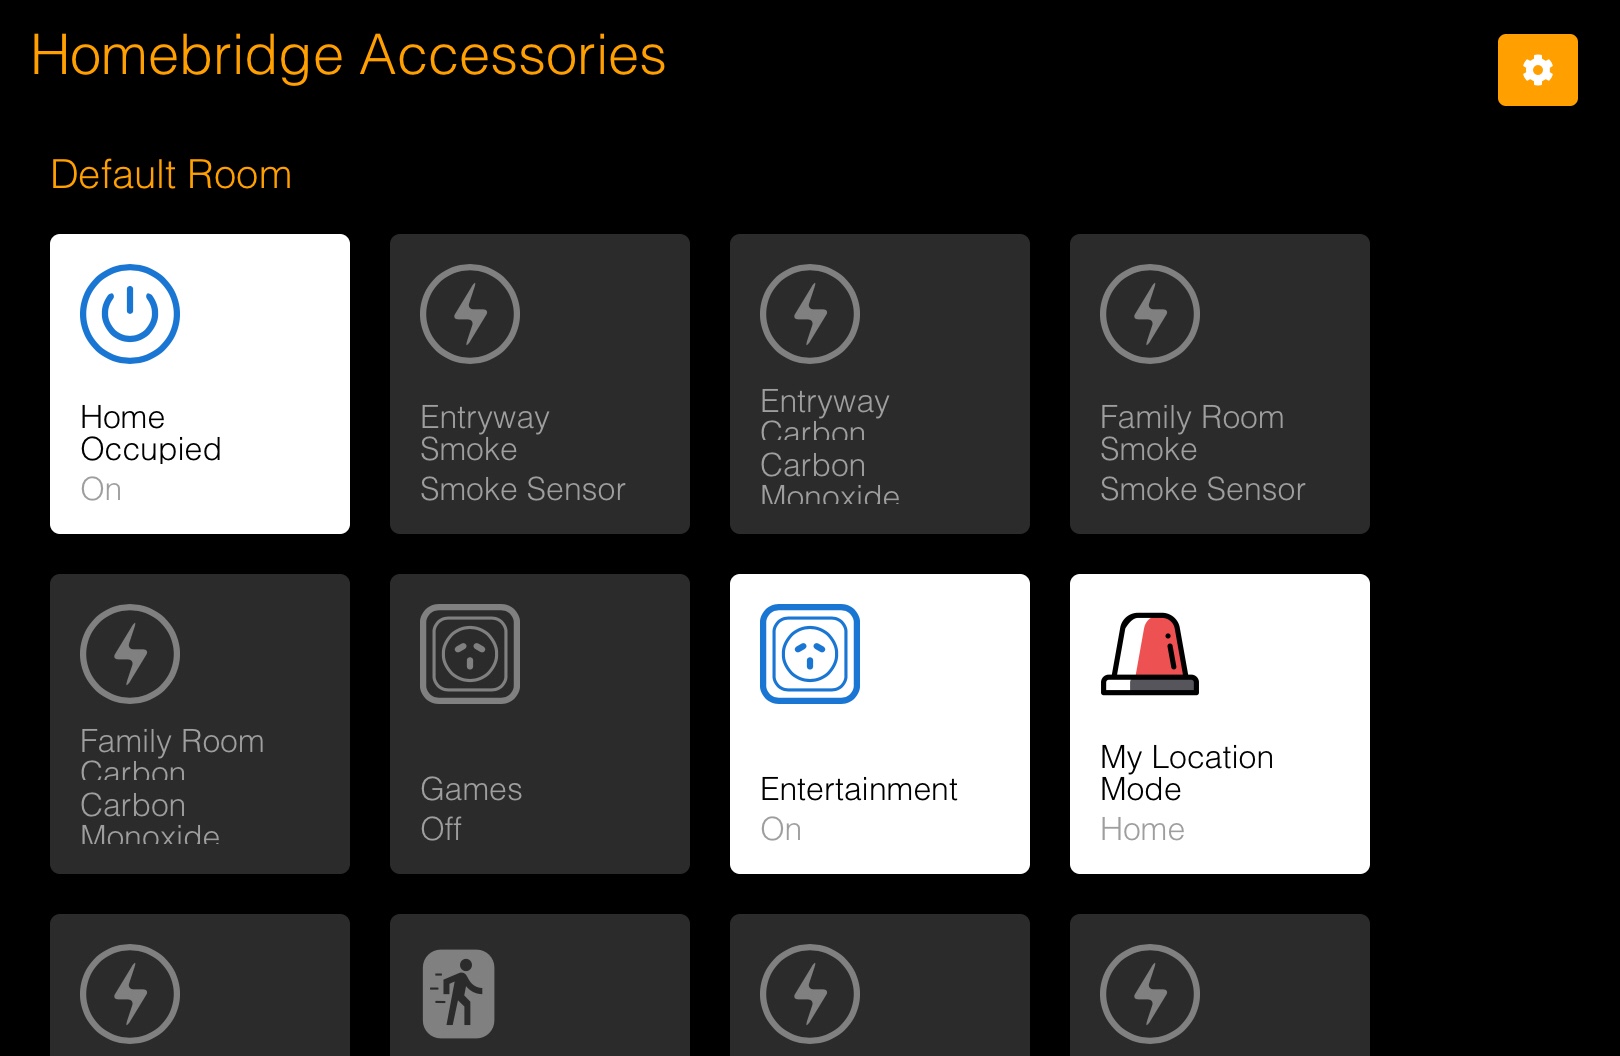
Some devices are more complex to add than others but once you get them added, they appear in the Home app on your Apple devices as well as in the Homebridge app.
One installed, you can configure and look at all your HomeKit devices through Homebridge.
Some devices, such as the Wemo gear, was really easy to add the Homebridge while other devices, such as my Nest smoke detectors were far more complex. However, most of the plug-in creators – I stuck with “Verified” plug-ins provided comprehensive instructions.
Is Homebridge worth the bother?
In a word – yes. At least for me. The ability to add almost any device from any device maker to my smart home setup is a great book. Suddenly, I can choose best-of-breed devices rather than being limited to those Apple has certified. It also means the costs are lower.